
Anhui Shengshi Datang Pump Industry will analyze the working principles and components of vertical axial flow pumps and provide a detailed description of the optimal maintenance and inspection methods for different components, offering reference for the daily maintenance and inspection of vertical axial flow pumps.
Basic Working Principle of Vertical Axial Flow Pumps
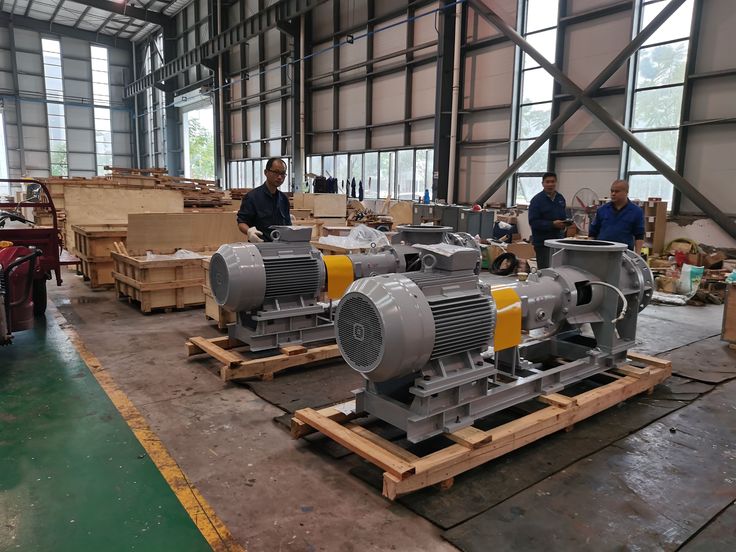
The fundamental principle of the vertical axial flow pump primarily utilizes the lift force from aerodynamics. Lift force on an airfoil is generated due to the pressure difference between the upper and lower surfaces. When fluid flows over the airfoil, both streamlines and streamtubes change, consequently causing corresponding changes in the pressure around the airfoil. As long as a pressure difference exists between the upper and lower surfaces, lift is generated. The blades and impeller casing of the vertical axial flow pump are made of cast steel with good corrosion resistance and strong wear resistance. During the design of vertical axial flow pumps, considering the convenience of maintenance and repair, the casing is designed to split along the centerline.
The core component of the vertical axial flow pump is the runner, which performs work on the liquid to convert electrical energy into the gravitational potential energy of the fluid (i.e., the Yellow River water), enabling the fluid to reach the required design height. The guide vane body, which supports the rubber bearings, primarily converts the fluid's potential energy into hydraulic energy within the system. It supports the intermediate seat, a relatively important part of the equipment, and plays a significant role in ensuring the normal and orderly operation of the vertical axial flow pump. The elbow's main function is to guide the flow, and the thrust bearing assembly primarily undertakes a certain amount of the axial force.
Inspection and Maintenance of Vertical Axial Flow Pumps
1. Packing Inspection and Maintenance
When inspecting and maintaining the packing in a vertical axial flow pump, the focus is primarily on checking the material of the packing. The steps can be roughly summarized as follows: ① Dismantle the packing; ② Perform a pull test by hand; ③ Check if the packing shows breakage; replace any packing that is found broken or cracked promptly. In daily maintenance, note that packing can generally only be reused once; timely replacement helps prevent leakage issues.
2. Upper and Lower Journal Bearing Inspection and Maintenance
Through long-term inspection and maintenance of vertical axial flow pumps, it has been found that journal bearings are extremely prone to damage. For instance, during the operation of the pump, frequent maintenance often reveals large areas of wear on the journal bearings. The designed service life of journal bearings is about 3 years. During their normal operation, they need to be inspected and maintained regularly. The general steps for performing journal bearing inspection are as follows: ① Pull out the shaft from the bearing; ② Wipe with a lint-free cloth soaked in red dye (or inspection oil) and observe for any scratches, embedded abrasive particles, or signs of burning/scoring; ③ If severe scratches or burning marks are present, the journal bearing needs replacement. Although the design life of journal bearings is around 3 years, in practice, after about one year of use, problems frequently occur, necessitating adjustment of the concentricity and performing horizontal alignment correction on the pump shaft. Because the bearing installation typically has a fit clearance with the shaft of (0.2~0.6)mm. If this distance is too small (<0.2 mm), it can cause the shaft to seize, affecting the normal starting of the motor. If the distance is too large (>0.6 mm), it can lead to shaft imbalance, resulting in severe vibration. During the daily maintenance of journal bearings, attention should be paid to the regular addition of lubricating oil, which can reduce bearing wear and prevent corrosion.
3. Thrust Bearing Pad Inspection and Maintenance
When inspecting and maintaining the thrust bearing pads, the first step is a general visual inspection to check if the surface smoothness meets standards. Visually inspect the pad surface for wear scratches or burning marks. At the same time, it is necessary to check whether each pad is bearing load evenly. This load check is done by visually observing the "peach-blossom" pattern wear on the pad surface. If the "peach-blossom" wear pattern appears relatively uniform, it indicates that the load on the pads is relatively balanced. Otherwise, if the pattern appears messy, it indicates an unbalanced load. If the load is unbalanced, the position of the rotating shaft needs adjustment to bring it to a relatively horizontal position. The general steps for repairing worn thrust pads are as follows: ① Remove the pads in sequence and mark them; ② Clean the pads and keep them dry; ③ Use a surface plate to scrape/scrape the pad surface; ④ Visually inspect the smoothness of the contact area on the pad surface; ⑤ If obvious high spots exist, use a triangular scraper to treat the surface until the "peach-blossom" contact pattern reaches a uniformly flat state, completing the repair work. After the above work, it is necessary to remove debris from the thrust bearing housing and surrounding areas, so clean the housing with gasoline. After cleaning, reassemble according to the marked sequence.
4. Bearing Sleeve/Bushing Inspection and Maintenance
When inspecting and maintaining the bearing sleeve/bushing, first visually inspect the sleeve surface for scratches. For sleeves with scratches, first use sandpaper for polishing. If the extent of scratching is beyond repairable limits, the bearing sleeve needs prompt replacement. The general replacement steps are: ① Clean the bearing, and after cleaning, apply lubricating oil; ② Dismantle and inspect the bearing; ③ Clean the new bearing sleeve and visually inspect to ensure the inner surface is smooth; if not smooth, perform sandpaper polishing; ④ Heat the inner wall using a 1kW tungsten lamp (or similar heat source); ⑤ Once the bearing sleeve reaches the specified temperature standard, quickly install it onto the shaft, and wait for the sleeve to cool down to room temperature.
5. Blade and Impeller Inspection and Maintenance
When inspecting blades, visual inspection is generally used to observe if there are any holes, missing corners, or cavitation pits/spots on the blades. If defects are found, new blades need to be replaced promptly. When replacing blades, pay attention to align the blade's index line with the impeller's angle line. After installing the blades, perform a static balance test on the impeller assembly. Only after the static balance test meets the requirements can the entire assembly be installed onto the shaft.


 IPv6 network supported